


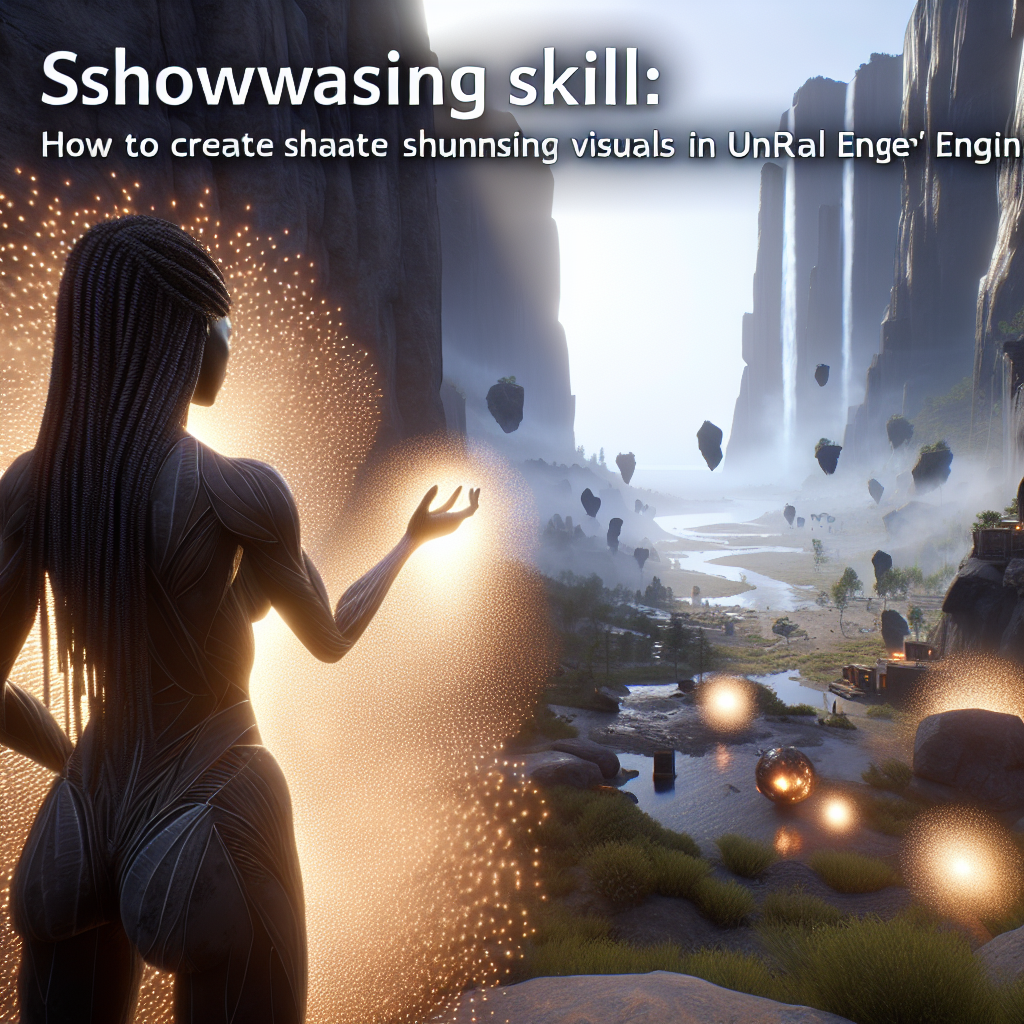
Showcasing Skill: How to Create Stunning Visuals in Unreal Engine
Unreal Engine (UE) has become a cornerstone for developers and artists involved in creating stunning visuals in the world of gaming, film, architecture, and virtual reality. With its flexible workflows, powerful rendering capabilities, and an intuitive interface, Unreal Engine enables creators to bring their wildest visions to life. Whether you’re an aspiring artist or a seasoned professional, harnessing the full potential of Unreal Engine can elevate your projects to new heights. In this article, we’ll explore key techniques and best practices for creating breathtaking visuals in Unreal Engine.
1. Understanding the Basics: Project Settings & Scene Setup
Before diving into the technical aspects of visual creation, it’s essential to set up your project correctly. Starting with the right project settings can significantly impact your output quality. Select the appropriate template based on your end goals—be it a game, architectural visualization, or cinematic storytelling.
Scene Setup
- Lighting: Proper lighting can make or break a scene. Use a mix of directional lights for the sun, skylights for ambient illumination, and spotlights for focused highlights. Experimenting with the placement and intensity of these lights will lead to a more vibrant atmosphere.
- Post-Processing Volumes: This enables you to fine-tune the visual quality and aesthetics of your scene. Adjust parameters like exposure, contrast, and ambient occlusion to add depth and realism.
2. Mastering Materials and Textures
Materials are the backbone of realistic visuals in Unreal Engine. The Material Editor provides a robust toolset that allows artists to create complex surfaces using a node-based system.
Key Techniques
- PBR Workflow: Embrace Physically Based Rendering (PBR) to achieve realistic material properties. This involves using maps such as Albedo (Base Color), Roughness, Metallic, Normal, and Ambient Occlusion. Pay careful attention to reference images while tweaking these properties to align with real-world examples.
- Texture Optimization: Use texture atlases to save memory and enhance performance. Consider using tools like Substance Designer or Quixel to create detailed and optimized textures that fit your materials seamlessly.
3. Utilizing Meshes and Assets
Creating or importing high-quality meshes is crucial for visually appealing scenes. Unreal Engine supports a variety of asset types, but the emphasis should remain on optimizing performance while retaining visual fidelity.
Asset Creation Tips
- Sculpting and Model Details: Software like Blender or ZBrush can help in crafting intricate models. Both high-poly and low-poly models should be used strategically—use high-poly models for close-ups and low-poly for distant objects.
- Level of Detail (LOD): Implement LOD models to ensure that performance remains high, especially in complex scenes. This will minimize the polygon count as the distance from the camera increases.
4. Exploring Lighting and Atmosphere
Lighting is one of the most important aspects of creating stunning visuals. Unreal Engine offers several advanced lighting features that empower creators to achieve vivid atmospheres.
Advanced Lighting Techniques
- Dynamic versus Static Lighting: Choose wisely based on the needs of your project. Dynamic lights provide flexibility but come with a performance cost. Static lighting can offer better optimization for static scenes.
- Volumetric Effects: Utilize effects like fog and atmospheric scattering to add an extra layer of depth to your scenes. This can create an immersive environment where light feels natural and atmospheric.
5. Animation and Cinematic Techniques
To add life to your creations, consider incorporating animation and cinematics. Unreal Engine provides powerful tools for both real-time animation and cinematic rendering.
Animation Essentials
- Sequencer Tool: Use the Sequencer to create complex animations, cinematic sequences, and non-linear storytelling. With options for keyframing, you can control animations of characters, cameras, lights, and more.
- Cameras and Composition: Experiment with different camera angles and movements to enhance storytelling. Use depth of field and motion blur to draw attention to key elements within your scene.
6. Finalizing and Exporting Your Work
After crafting your visuals, it’s essential to finalize and export them efficiently. Unreal Engine supports several output formats, allowing for flexibility depending on your intended distribution platform.
Considerations for Export
- Quality Settings: Adjust rendering settings for resolution, anti-aliasing, and shadows based on the platform. Higher settings can lead to stunning visuals, but also increased rendering times.
- Optimizing for Performance: Use tools like the Profiler and Stat commands to identify bottlenecks in frame rates or rendering times. Optimize accordingly to ensure a smooth experience for end-users.
Conclusion
Creating stunning visuals in Unreal Engine is an exciting yet intricate process that requires a keen eye for detail, strong technical skills, and a deep understanding of the tools at your disposal. By mastering project setup, material creation, lighting, animation, and optimization techniques, you can elevate your projects significantly. Whether you’re developing an immersive game, a captivating cinematic, or a detailed architectural rendering, the possibilities are endless. So dive into Unreal Engine, experiment, and let your creativity take the forefront—your next visual masterpiece awaits!
