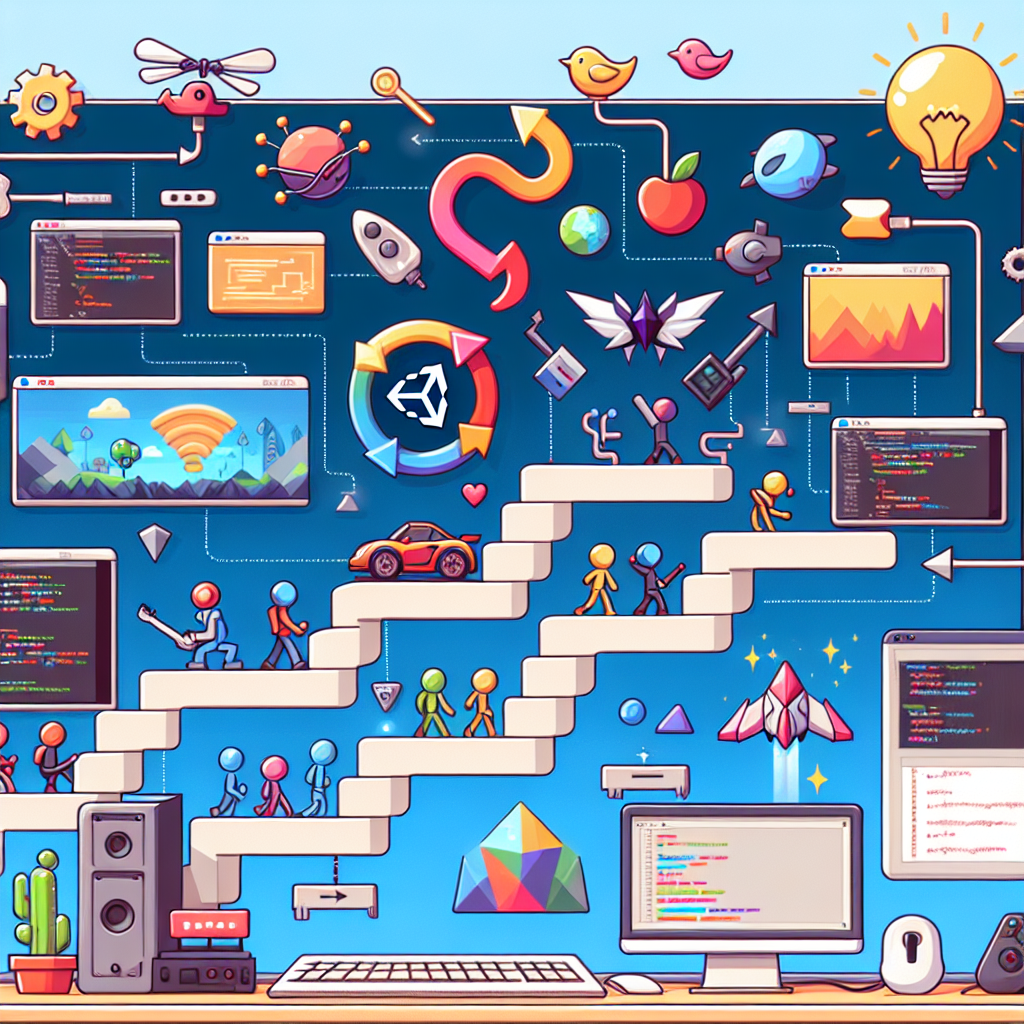
From Zero to Hero: Learn Game Development with Unity in 10 Easy Steps
Game development has never been more accessible, thanks to powerful platforms like Unity. This comprehensive game engine empowers both beginners and seasoned developers to create interactive experiences ranging from simple mobile games to complex PC titles. If you’ve ever dreamed of building your own game but didn’t know where to start, this guide will walk you through ten easy steps to go from zero to hero in Unity.
Step 1: Understand the Basics of Game Design
Before diving into Unity, it’s essential to grasp the fundamentals of game design. This involves understanding what makes a game enjoyable, including gameplay mechanics, storytelling, character design, and player engagement. Consider exploring resources like books, online courses, or video tutorials that cover the principles of game design to form a solid foundation.
Step 2: Download and Install Unity
With your theoretical knowledge in hand, it’s time to get practical. Visit the Unity website to download the Unity Hub and install the latest version of the Unity Editor. Unity is free for personal use and offers a wealth of resources for learners. As you install the software, consider familiarizing yourself with the interface and tools provided.
Step 3: Explore Unity’s Learning Resources
Unity offers a comprehensive learning platform filled with tutorials, documentation, and sample projects suitable for beginners. Start with the “Unity Essentials” pathway, which will introduce you to the interface, basic functionality, and common practices. YouTube channels dedicated to Unity development can also provide valuable insights and visual explanations.
Step 4: Start with a Simple Project
Now that you’ve familiarized yourself with the Unity interface, it’s time to start your first project. Choose something simple, like a 2D platformer or a basic 3D game. Set realistic goals and break your project into manageable tasks. Creating a small, functional game will keep you motivated and give you a sense of accomplishment.
Step 5: Learn C# Programming
Unity uses C# as its primary programming language. Understanding C# is crucial for scripting game mechanics, controlling game assets, and managing user interactions. Choose beginner-friendly programming resources, such as online courses or coding boot camps focused on C#. Start with basic concepts like variables, loops, and functions, and work your way up to more advanced topics like classes and inheritance.
Step 6: Design and Import Assets
Game development is as much about visuals as it is about functionality. Learn how to design your own game assets using software like Blender for 3D modeling or Adobe Photoshop for 2D assets. Alternatively, explore Unity’s Asset Store, where you can find free and paid assets to use in your game. Remember to follow best practices for asset optimization to ensure your game runs smoothly.
Step 7: Implement Game Mechanics
With your assets in place, it’s time to implement game mechanics. This involves writing code to define how your game will work. Start with basic mechanics, like player movement, collision detection, and score tracking. As you grow more confident, you can integrate more complex features, such as AI behaviors, inventory systems, and multiplayer functionality.
Step 8: Test and Debug Your Game
Testing and debugging are essential steps in the game development process. Playtest your game frequently to identify bugs and areas for improvement. Unity provides debugging tools to help you track down issues. Don’t hesitate to seek feedback from friends or fellow developers; an outside perspective can highlight aspects you might overlook.
Step 9: Polish Your Game
Once you have a functional game, it’s time to polish and refine it. Focus on enhancing graphics, improving user experience, and ensuring that all game elements work seamlessly together. Consider adding sound effects and background music to enhance immersion. This stage is where you can truly elevate your game from a simple prototype to an enjoyable product.
Step 10: Publish Your Game
The final step in your journey is sharing your creation with the world. Unity allows you to publish your game on various platforms, including PC, mobile devices, and even web browsers. Be sure to follow platform-specific guidelines and consider marketing strategies to promote your game. Celebrate this achievement by showcasing your hard work and engaging with the gaming community.
Conclusion
Learning game development with Unity may seem daunting at first, but by following these ten easy steps, you can transform your aspirations into reality. Remember that game development is a continuous learning journey, so don’t hesitate to experiment, seek resources, and join developer communities. Whether you’re showcasing your game to friends or launching it to a global audience, the journey from zero to hero awaits you in the world of game development!


