


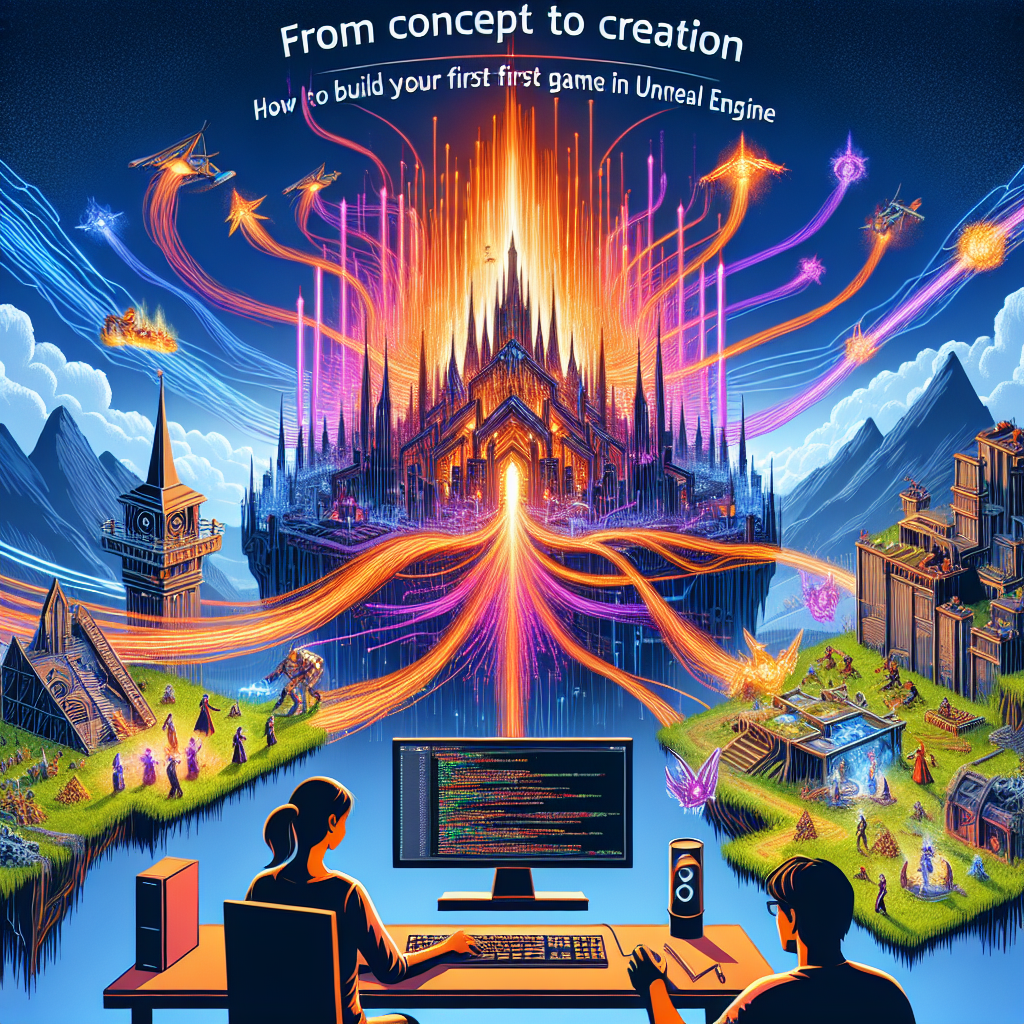
From Concept to Creation: How to Build Your First Game in Unreal Engine
Creating a video game is a thrilling venture that combines creativity, technology, and a deep understanding of storytelling. With the advent of powerful game development tools like Unreal Engine, aspiring developers can turn their ideas into playable experiences. This article will guide you through the process of building your first game using Unreal Engine, breaking it down from conception to creation.
Step 1: Define Your Game Concept
Before diving into development, it’s essential to have a clear concept. Ask yourself the following questions:
- What is the genre of your game? (e.g., platformer, shooter, puzzle)
- What is the core gameplay mechanic? (e.g., combat, exploration, strategy)
- What is the story or theme? (e.g., fantasy, sci-fi, horror)
- Who is your target audience?
Take your time to brainstorm and refine your ideas. Creating a Game Design Document (GDD) can be beneficial, detailing your game’s mechanics, story, characters, and art style.
Step 2: Learn the Basics of Unreal Engine
Unreal Engine is a versatile tool, and familiarizing yourself with it is crucial. Here are the components to focus on:
- Interface: Get comfortable with the Unreal Editor interface, including the viewport, content browser, and blueprint system.
- Blueprints: Unreal Engine’s visual scripting system allows you to create gameplay mechanics without extensive programming knowledge.
- Assets: Learn how to import and use 3D models, textures, and sounds to bring your world to life.
There are numerous online resources, including Epic Games’ official documentation, video tutorials on platforms like YouTube, and community forums.
Step 3: Set Up Your Project
Once you’ve gained a basic understanding of the engine, set up your new project:
- Launch Unreal Engine and select ‘New Project’.
- Choose a template that closely resembles your game type (e.g., First Person, Third Person, Top Down).
- Set the project settings, including the project name, location, and initial settings, and click ‘Create’.
Step 4: Create Your Game World
With your project set up, it’s time to build your game environment:
- Level Design: Use the built-in level designer tools to create landscapes, buildings, and terrains. Take advantage of the Landscape tool for open-world games.
- Lighting and Atmosphere: Experiment with different lighting settings, using Directional Lights, Point Lights, and Sky Lights to create the desired mood.
- Assets: Import your 3D models and textures. Unreal Engine supports various formats (FBX, OBJ) for meshes and materials. You can also find free assets on the Unreal Marketplace.
Step 5: Implement Gameplay Mechanics
This step revolves around coding and setting the rules of your game:
- Using Blueprints: Start by creating the primary character. Implement movement, jumping, and interaction using the Blueprint Editor. You can also define variables and functions to control player behavior.
- Game Logic: Develop systems for scoring, health, and game progression. Create triggers for events, such as collecting items or defeating enemies.
- AI and Enemies: If your game includes enemies, use AI components to make them react to player actions. The Behavior Tree system in Unreal Engine can help create complex AI behaviors.
Step 6: UI and User Experience
An engaging user interface (UI) enhances gameplay:
- Design the HUD: Create a heads-up display (HUD) to show essential information such as health, score, and inventory.
- Menus: Implement main menus, pause menus, and settings screens using UMG (Unreal Motion Graphics).
- User Input: Ensure your game handles user input smoothly, accommodating different control schemes (keyboard, mouse, gamepad).
Step 7: Testing and Feedback
Testing is an essential part of game development:
- Playtesting: Regularly play your game to find bugs, improve gameplay, and adjust difficulty. Invite friends or potential players to test it as well.
- Iterate: Use feedback to refine and enhance your game. Don’t hesitate to make significant changes if necessary.
Step 8: Polish and Optimize
Once your game is functional, focus on polishing it:
- Visual Enhancements: Improve textures, animations, and post-processing effects for a more appealing look.
- Performance Optimization: Check for performance issues and optimize assets and code to ensure smooth gameplay across devices.
Step 9: Launch Your Game
Having gone through the development process, it’s time to share your creation:
- Packaging: Package your game for the desired platform (PC, console, mobile) through Unreal Engine’s ‘File’ > ‘Package Project’ option.
- Distribution: Consider platforms for sharing your game, such as Steam, Epic Games Store, or itch.io. Create promotional materials like trailers and screenshots to attract players.
Conclusion
Building your first game in Unreal Engine is a rewarding experience that requires dedication, creativity, and a willingness to learn. By following these steps, you can transform your idea from concept to creation. Remember, each project is a learning opportunity—don’t be discouraged by setbacks. Embrace the journey, and soon you’ll be crafting the immersive worlds you’ve always dreamed of. Happy developing!
